Installing a vanity can refresh your bathroom fast, but the job goes smoother when you plan for plumbing, wall support, moisture, and Miami code realities first. This guide explains how to install a bathroom vanity the right way, from sizing and removal to the first installation steps, so you avoid leaks, crooked cabinets, and costly rework.
How to Install a Bathroom Vanity: Plan Before You Touch a Wrench
If you want to learn how to install a bathroom vanity without creating plumbing problems or wall damage, the real work starts before demolition. A vanity has to fit the room, line up with drain and supply locations, and handle South Florida humidity. In older homes in Coral Gables, Coconut Grove, or Brickell condos, small layout issues can turn a quick update into a larger remodel.
For homeowners already thinking beyond a simple swap, Newrome offers bathroom remodeling services that help tie vanity installation into tile, lighting, storage, and waterproofing upgrades. If the project reveals hidden damage, weak framing, or outdated finishes, it may also connect with broader full home renovation options.
Measure the space the right way
Before ordering materials, confirm the width, depth, and height your bathroom can handle. People often ask, how tall is a bathroom vanity? Standard vanity height is usually around 30 to 36 inches, with taller comfort-height models feeling better for many adults. If you are replacing an older unit, measure from the finished floor to the top of the current counter and compare it to your needs.
Another common question is, how deep is a bathroom vanity? Most models are about 18 to 21 inches deep, but compact powder room vanities can be smaller. In tight Miami bathrooms, depth matters because door swings, toilet clearance, and walkway space can get cramped fast.
Check these dimensions before buying:
- Overall wall width available for the vanity cabinet
- Depth from back wall to the front edge without blocking traffic flow
- Counter height that feels comfortable for daily use
- Location of supply lines, drain pipe, and shutoff valves
- Baseboard, tile edge, and wall unevenness that may affect fit
If the wall is out of plumb or the floor slopes, the vanity may need shims and trim adjustments. That is especially common in older South Florida homes and waterfront properties exposed to long-term moisture movement.
Where to buy bathroom vanity for durability and style
Homeowners searching where to buy bathroom vanity options should look beyond color and price. In Miami-Dade, humidity resistance matters. Solid plywood boxes generally hold up better than low-grade particleboard in damp bathrooms. Quartz tops are popular because they resist staining and need less maintenance than marble. If your design leans contemporary tropical, clean slab fronts and light wood tones work well. In Mediterranean Revival homes, furniture-style vanities with detailed millwork may fit better.
For a simple comparison, use this guide before you order:
| Feature | Better Choice | Why It Works in Miami |
|---|---|---|
| Cabinet box | Plywood | Handles humidity better than low-grade particleboard |
| Countertop | Quartz | Low maintenance and resists daily moisture exposure |
| Hardware finish | Quality coated metal | Helps reduce corrosion in humid, salt-air environments |
| Sink style | Integrated or undermount | Easier cleaning and fewer exposed seams |
If your installation includes moving shutoffs, replacing supply lines, or updating a drain, it is smart to review professional plumbing services before finalizing the scope.
Step 1 and Step 2: Shut Off Water and Learn How to Remove a Bathroom Vanity
The first physical part of how to install a bathroom vanity is safely disconnecting the old one. If you are wondering how to remove a bathroom vanity, start with the water supply. Turn off the shutoff valves under the sink. If those valves are stuck, corroded, or leaking, stop there and replace them before moving on.
Step 1: Disconnect plumbing and power nearby
Open the faucet to release pressure. Place a bucket under the P-trap, then disconnect the supply lines and drain assembly. If your vanity includes a lighted mirror, outlet, or nearby fixture work, make sure the relevant breaker is off. Bathrooms often mix water and electrical components in tight spaces, so caution matters. If wiring needs to be moved, Newrome also handles electrical upgrades for safe, code-aware remodels.
In Miami condos and newer builds, access can be limited, and building management may require notice before plumbing work. In single-family homes, you may have more flexibility, but permit rules can still apply if the project expands beyond a direct replacement.
Step 2: Remove the old vanity without damaging the wall
After disconnecting plumbing, score any caulk lines where the vanity top meets the wall. Remove backsplash pieces carefully. Then locate screws inside the cabinet that attach it to wall studs or blocking. Once fasteners are out, pull the cabinet away slowly.
This is the point where many people discover hidden issues behind the vanity, such as:
Water staining, soft drywall, loose tile, mold odor, or previous patchwork around the drain opening. If the wall surface is damaged, repairs should happen before the new cabinet goes in. Depending on the condition, that may involve drywall repair, repainting, or even replacing sections of flooring if long-term leaks reached the base.
Step 3 Through Step 5: Prep the Wall, Dry-Fit the Vanity, and Secure It Properly
Once the old unit is out, the next phase of how to replace bathroom vanity components is preparing a stable, level surface. This is where quality installation makes the difference between a vanity that lasts and one that shifts, cracks caulk, or stresses plumbing connections.
Step 3: Inspect and repair the installation area
Check the wall for moisture damage, stud location, and flatness. Vanity cabinets should be anchored into framing, not just drywall. If your wall has tile, confirm whether fasteners need masonry bits or specialty anchors. In some bathrooms, especially after older leaks, the subfloor may also need reinforcement.
Florida homes deal with year-round humidity, and bathrooms intensify that moisture. Any soft material behind the cabinet should be corrected now, not covered up. This is also a smart time to confirm the drain height and supply line placement match the new vanity’s interior layout.
Step 4: Dry-fit the vanity and mark plumbing openings
Set the vanity in place without permanently fastening it. Check that doors and drawers can open fully and that the cabinet sits level against the wall. Mark where the drain and water lines pass through the back panel or floor. Then remove the vanity and cut clean openings with the right tool.
This step helps avoid one of the biggest DIY mistakes: cutting oversized holes that leave visible gaps or weaken the cabinet. Measure twice, especially with prefinished vanities that cannot be easily patched.
Step 5: Level and anchor the cabinet
Place the vanity back in position and use shims where needed to make it level side to side and front to back. Once level, fasten it through the back rail into studs or solid blocking. Do not overtighten, especially on engineered finishes that can crack under pressure.
For homeowners in Miami Beach, Pinecrest, or other high-moisture areas, precise installation matters because repeated expansion and contraction can expose weak fastening over time. If your bathroom refresh is part of a larger style update, you can also view completed projects for ideas on layouts, finishes, and storage solutions that fit South Florida homes.
At this stage, the cabinet should be secure, square, and ready for the countertop, sink, faucet, and final plumbing connections. The remaining steps are just as important, especially for preventing leaks, sealing joints, and avoiding the common mistakes that shorten the life of a new vanity.
Step 6 and Step 7: Install the Top, Faucet, and Reconnect Plumbing
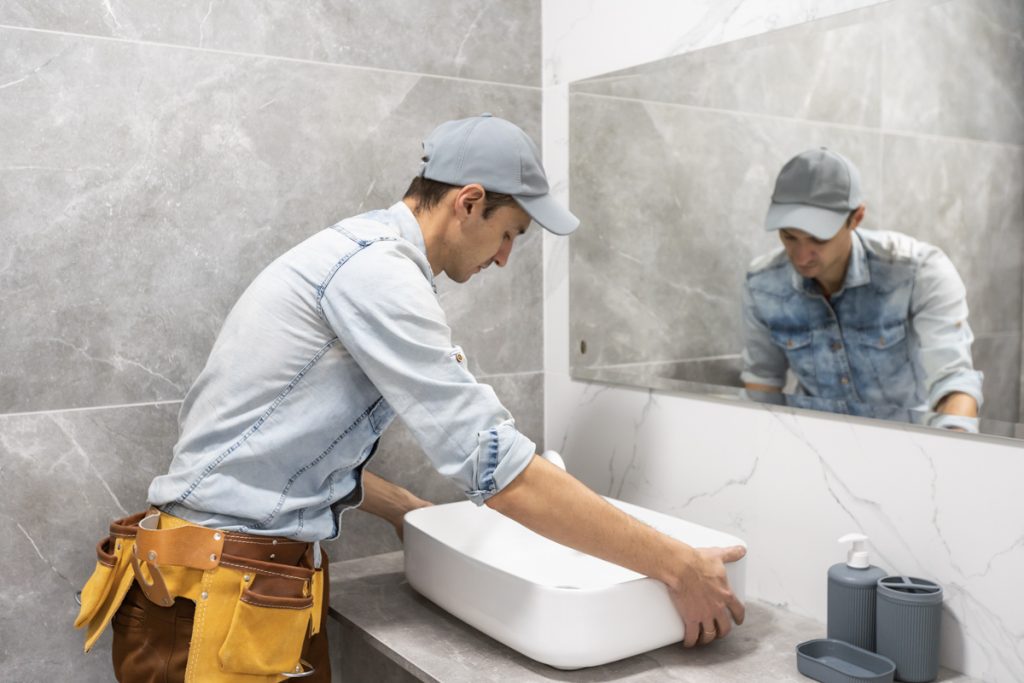
At this point, the cabinet is secure, and the next part of how to install a bathroom vanity is making sure the top and plumbing connections are clean, level, and watertight. These steps look simple, but most post-install leaks happen here.
Step 6: Set the vanity top and sink carefully
If your vanity has a separate countertop, dry-fit it first before applying any adhesive. Confirm the back edge sits tight to the wall and that the sink opening lines up with the cabinet below. If the wall is uneven, which is common in older Miami-Dade homes, you may need a small bead of caulk at the backsplash later to hide minor gaps.
For tops that are not pre-attached, apply the manufacturer-approved adhesive in small, even amounts on the cabinet corners and support rails. Then lower the top gently into place. Avoid using too much adhesive, since squeeze-out can stain finished surfaces or interfere with future repairs.
If you are installing a faucet separately, it is usually easier to mount it before the drain and supply lines are connected. Tighten hardware firmly, but do not overtighten under thin stone or cultured marble tops. In coastal areas like Miami Beach and Key Biscayne, corrosion-resistant hardware is worth using because salt air can shorten the life of lower-grade metal parts.
Step 7: Reconnect the drain and water lines
This is the stage where homeowners often search how to replace bathroom vanity plumbing connections after the cabinet is in place. Reattach the faucet supply lines, install the drain assembly, reconnect the P-trap, and make sure each fitting is aligned naturally. Pipes should not be forced into position. If they are, the vanity opening may be off, or the plumbing rough-in may need adjustment.
Before turning the water on fully, check these points:
- The shutoff valves are in good condition and easy to access
- The supply lines are not kinked or rubbing sharp cabinet edges
- The P-trap is seated evenly and hand-tightened before final snugging
- The sink drain gasket and plumber’s putty or seal are installed correctly
Run water slowly, then inspect every connection with a flashlight. Wipe each joint with a dry paper towel so even a small drip shows up right away. If the drain or shutoffs need to be relocated, this is where professional plumbing services can save time and prevent hidden moisture damage inside the cabinet.
Step 8: Seal, Test, and Finish the Installation the Right Way
The final step in how to install a bathroom vanity is not just cleaning up. It is sealing vulnerable edges, checking function, and making sure the installation can handle daily use in a humid South Florida bathroom.
Seal all exposed joints
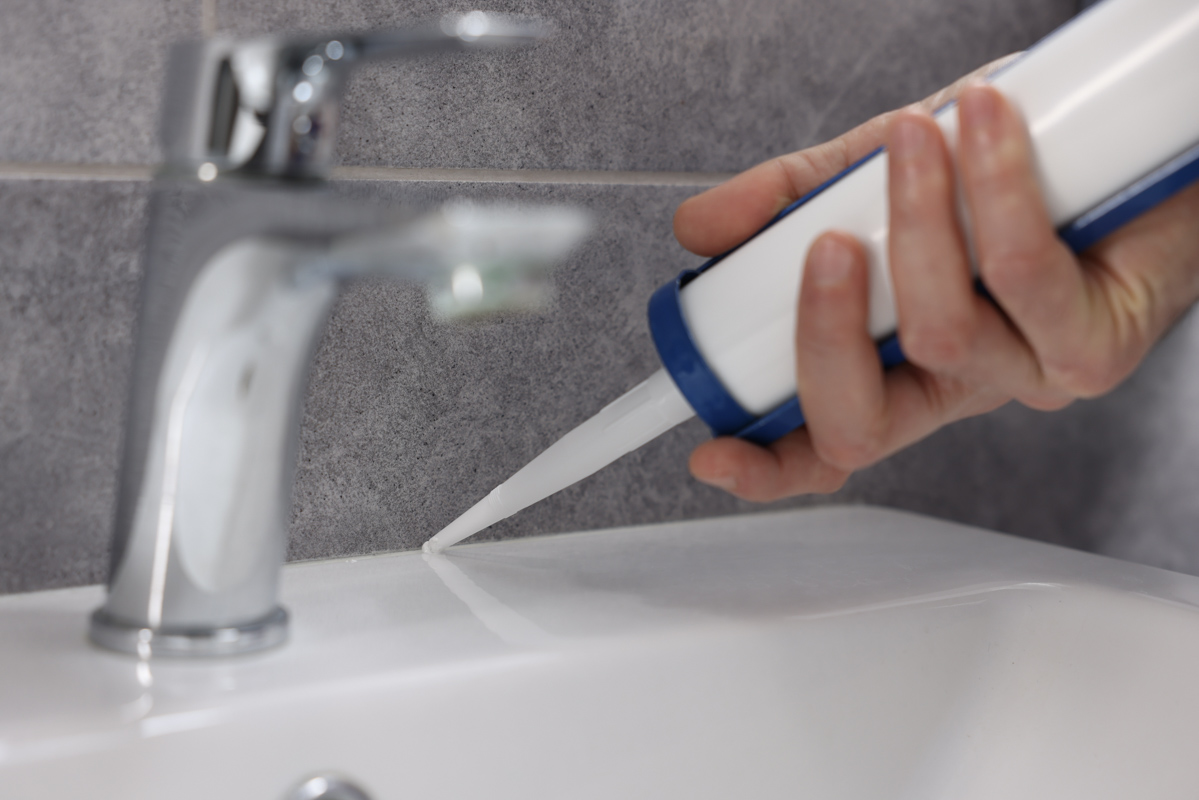
Apply a neat bead of mildew-resistant bathroom caulk where the backsplash meets the wall and where the vanity top meets side walls if needed. Do not caulk the entire cabinet to the floor unless the product instructions call for it. In some cases, leaving that edge open helps you notice leaks sooner.
Miami homes deal with constant humidity, and bathrooms add even more moisture. Good sealing helps protect drywall, trim, and paint from repeated splash exposure. If the wall surface around the vanity needs touch-ups after installation, coordinated painting services can help the finished space look polished rather than patched.
Test for level, drawer clearance, and leaks
Open and close all doors and drawers. Make sure they do not rub the wall, hit the toilet, or interfere with the trap assembly. Fill the sink, then release the stopper and watch the drain while water moves through quickly. This is the best way to catch slow leaks that may not appear during a short faucet test.
If the vanity rocks, the cabinet may need additional shimming. If the countertop gap against the wall is large, the wall may need correction rather than extra caulk. In higher-end homes in Coral Gables, Coconut Grove, and Brickell, these finish details matter because they affect both appearance and resale value.
Common Mistakes That Cause Leaks, Damage, or a Crooked Vanity
Many homeowners can handle a basic swap, but the difference between a quick update and a long-lasting result often comes down to avoiding a few common errors. If you are learning how to install a bathroom vanity for the first time, watch for these issues.
Wrong size selection
People often focus on style first and measurements second. That leads to blocked door swings, poor walkway clearance, or plumbing conflicts inside the cabinet. If you are still comparing options and asking where to buy bathroom vanity models that fit your space, prioritize exact dimensions, moisture-resistant construction, and serviceable plumbing access over appearance alone.
Ignoring standard height and depth
Questions like how tall is a bathroom vanity and how deep is a bathroom vanity matter because comfort and function are tied to those numbers. A vanity that is too deep can crowd a small bathroom. One that is too low may feel outdated or uncomfortable for daily use. Standard sizing works for many homes, but compact powder rooms and custom primary baths often need a more tailored fit.
Fastening only to drywall
A vanity should be anchored to studs or solid blocking. Drywall alone is not enough to support the cabinet, top, and sink over time. This is especially true for stone countertops or double-sink units. If the wall structure is weak or damaged, repairs may involve finish carpentry or backing work before installation. For more complex built-ins and trim adjustments, Newrome also offers custom carpentry services.
Reusing old supply lines and worn shutoffs
One of the easiest ways to create a future leak is reconnecting corroded parts just because they still seem usable. Fresh supply lines and reliable shutoff valves are inexpensive compared to cabinet damage, drywall repairs, or mold cleanup later.
Skipping wall and floor repairs
If you discovered damage while learning how to remove a bathroom vanity, do not cover it up and hope for the best. Soft drywall, stained baseboards, loose tile, or swelling near the floor usually means there was a leak before. Correcting those issues before the new vanity goes in protects the investment and gives the installation a solid base.
When a Vanity Installation Becomes a Bigger Bathroom Remodel
Sometimes a simple replacement turns into a broader upgrade. If the plumbing is outdated, the lighting is poorly placed, the floor is damaged, or the layout wastes space, a vanity swap may be the right time to improve the whole room. That is especially common in older South Florida homes, investor-owned condos, and properties preparing for resale.
A full update may include tile replacement, storage improvements, better ventilation, upgraded GFCI protection, and moisture-resistant finishes that hold up better in the Miami climate. Homeowners planning a more complete transformation can explore bathroom remodeling services for design, construction, and finish coordination. If the work expands into adjacent rooms or a larger property update, Newrome also handles full renovation projects throughout South Florida.
Knowing how to install a bathroom vanity is useful, but knowing when the job needs licensed, insured help is just as important. Plumbing alignment, wall repairs, waterproofing, and finish quality all affect how the vanity performs over time. If you want a clean installation that fits your bathroom, your style, and Miami-Dade building realities, request a consultation with Newrome. Their team helps homeowners and property investors complete bathroom upgrades with durable materials, careful craftsmanship, and a finished look that feels right at home in Miami.