Popcorn ceilings can make a Miami home feel dated, trap dust, and complicate painting or lighting updates. If you’re wondering how to remove popcorn ceiling safely, the right method depends on the texture, age, and condition of the surface. With smart prep and the proper tools, you can avoid a messy disaster and get a cleaner, smoother ceiling ready for modern finishes.
How to Remove Popcorn Ceiling the Right Way
If you’re researching how to remove popcorn ceiling, start with one rule: test before you scrape. Many older ceilings installed before the late 1980s may contain asbestos. In South Florida, that matters even more because many homes in Miami, Coral Gables, and older Brickell buildings were built during the years when textured ceilings were common. If asbestos is present, popcorn ceiling removal DIY is not the safe option. You’ll need a licensed abatement professional.
If the ceiling tests clear, removing popcorn ceiling can be a practical upgrade that makes rooms look taller, brighter, and more current. It also helps if you plan to repaint, install recessed lighting, or move into a broader full home renovation. In many homes, scraping the texture is just the first step before skim coating, repairs, and fresh paint.
Why homeowners remove popcorn ceilings
Popcorn texture was once used to hide flaws and absorb sound, but it comes with downsides. It catches dust, stains easily in humid climates, and can peel or discolor over time. In Miami-Dade homes, moisture from air conditioning issues, roof leaks, or high humidity can make textured ceilings look even worse.
Homeowners usually decide to get rid of popcorn ceiling for one or more of these reasons:
- A cleaner, more modern look that fits contemporary tropical, Mid-Century Modern, or updated Mediterranean interiors
- Easier maintenance, since smooth ceilings are simpler to dust, patch, and repaint
- Better results before new lighting, crown molding, or ceiling repairs
- Improved resale appeal for buyers who prefer updated finishes
If the texture is damaged or if the ceiling underneath needs patching, it’s smart to review professional drywall services before starting. A scraped ceiling often needs joint compound, sanding, and a level finish before it looks truly complete.
Before Removing Popcorn Ceiling: Safety, Testing, and Prep
The best way to remove popcorn ceiling depends on the material and the room conditions. Some ceilings scrape off easily when dampened. Others are painted over and much harder to remove. A little prep can save hours of labor and reduce damage to the drywall underneath.
1. Test for asbestos first
If your home was built before 1990, assume testing is necessary. A certified lab can analyze a sample, or you can hire a qualified professional to collect it safely. This is especially important in older Miami neighborhoods with original finishes still in place. Never sand or aggressively scrape a ceiling before testing, because that can release harmful particles into the air.
2. Check whether the texture has been painted
Paint changes everything. An unpainted popcorn ceiling usually responds well to light spraying and scraping. A painted one may resist water, come off in chunks, or tear the paper face of the drywall. To test it, spray a small hidden area with warm water and wait about 10 to 15 minutes. If it softens, wet scraping may work. If water beads up or nothing loosens, you may need a dry method, more aggressive scoring, or even skim coating over the texture in some cases.
3. Protect the room completely
Anyone learning how to scrape popcorn ceiling quickly finds out the mess is the hardest part. Cover floors with plastic, tape plastic to walls, and remove furniture if possible. Shut off HVAC vents in the room so dust and debris do not spread. Turn off power if you’ll be removing light fixtures or working close to electrical boxes, and if wiring updates are needed, it’s wise to review licensed electrical work before the ceiling is finished.
For best results, gather your tools before you start:
- Safety goggles, gloves, dust mask or respirator
- Plastic sheeting, painter’s tape, and drop cloths
- Pump sprayer or spray bottle with warm water
- Wide drywall knife or ceiling scraper
- Mud pan, joint compound, sanding pole, and primer
Removing Popcorn Ceiling With Wetting vs. Without Wetting
There is no single answer to the best way to remove popcorn ceiling. The right approach depends on whether the ceiling is unpainted, painted, fragile, or already damaged. Here’s a simple comparison.
| Method | Best For | Main Watch-Out |
|---|---|---|
| Wet scraping | Unpainted texture that softens with water | Too much water can damage drywall paper |
| Dry scraping | Painted or water-resistant texture | Creates much more dust |
| Skim coat over texture | Light texture with good adhesion | Requires finishing skill for a smooth result |
How to remove popcorn ceiling with wetting
Wet scraping is often the easiest popcorn ceiling removal DIY method when the texture has not been painted. Lightly mist a small section, usually about 4 feet by 4 feet, and let it absorb for several minutes. The goal is to soften the texture, not soak the drywall. Then hold your scraper at a shallow angle and gently push across the ceiling. If it comes off in soft layers, your moisture level is about right.
Work in sections and avoid gouging the surface. If the texture resists, spray a little more and wait again. In Miami homes, indoor humidity can affect drying time, so keep airflow controlled but avoid blowing debris around the room.
How to remove popcorn ceiling without wetting
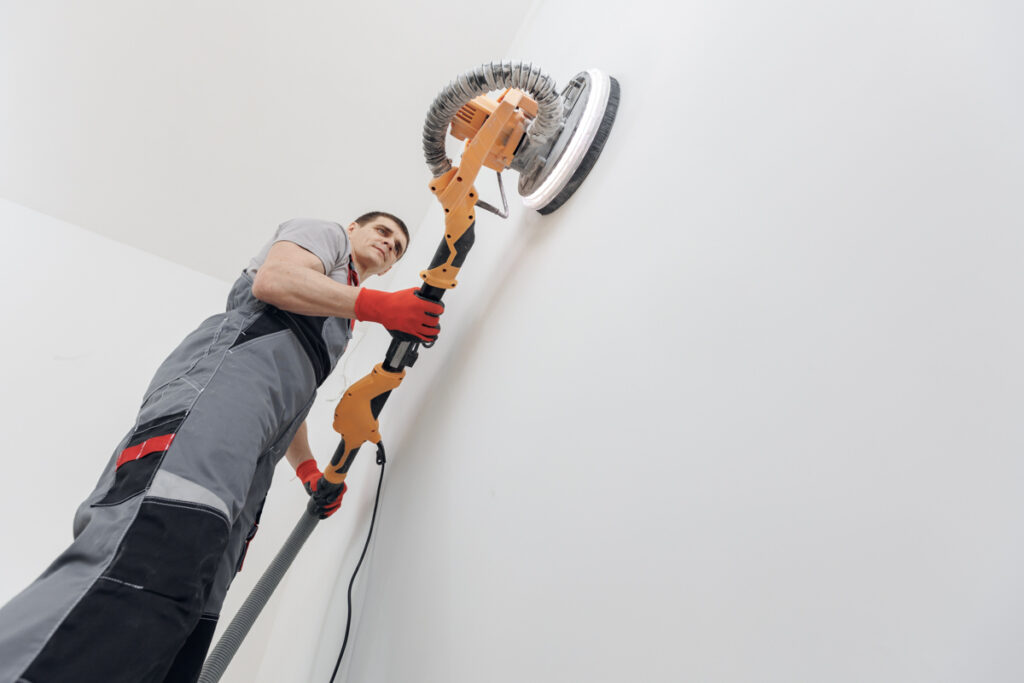
Dry scraping is usually used when the ceiling has been painted or when water does not penetrate the finish. This method can still work, but it is slower and much dustier. Use a wide scraper and move carefully to avoid tearing the drywall face. Some homeowners attach a scraper to a shop vacuum setup to control dust, but even then, cleanup is extensive.
If the ceiling surface starts breaking unevenly or the drywall paper peels, stop and reassess. In many cases, the smarter move is to remove only loose material, repair the surface, and then finish it with skim coat and primer. After the ceiling is smooth, a fresh coat from professional painting services can completely transform the room.
Step-by-Step: How to Scrape Popcorn Ceiling Without Ruining the Drywall
Once testing and prep are done, the actual scraping process should be controlled and methodical. Rushing is what usually causes gouges, uneven spots, or extra repair work later.
Start in a small test area
Choose a corner or less visible section first. This tells you how easily the texture releases and whether your wet or dry method is really working. If the ceiling is layered over weak drywall joints or old repairs, you may notice problem spots early and adjust your technique.
Keep the scraper flat
The most common mistake in removing popcorn ceiling is digging the tool edge into the drywall. Hold the blade nearly flat and use steady pressure. Let the moisture or the loosened texture do the work. If you force it, you’ll create ridges that need more patching later.
Expect repairs after scraping
Even a careful job usually leaves minor imperfections. Nail pops, taped seams, and old patches may show up once the texture is gone. That’s normal. Ceiling refinishing often includes skim coating, sanding, priming, and repainting before the surface looks truly smooth. If your project is part of a larger update in Miami or nearby neighborhoods, you can also view completed projects for ideas on how ceiling updates fit into a full interior remodel.
For homeowners who want a clean finish without the dust, patchwork, and risk of ceiling damage, it may be worth it to request a free consultation with a licensed, insured renovation team familiar with local homes, humidity challenges, and Miami-Dade renovation standards.
Repairing, Skim Coating, and Finishing After Removing Popcorn Ceiling
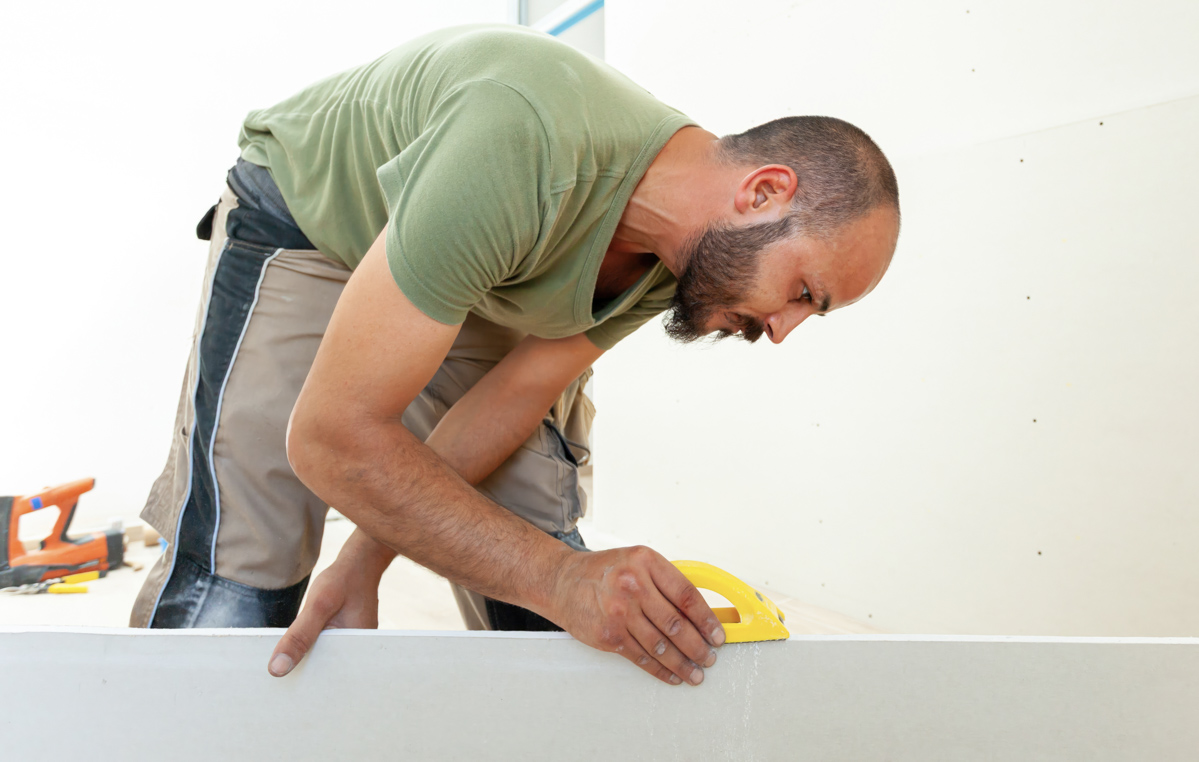
Knowing how to remove popcorn ceiling in Miami homes is only half the job. The finish work is what makes the ceiling look clean, modern, and worth the effort. After removing popcorn ceiling, most surfaces need at least minor repair before primer and paint. In South Florida homes, this step matters even more because ceiling stains, hairline cracks, and old moisture damage often show up once the texture is gone.
Patch damaged areas before skim coating
Look closely for gouges, exposed tape joints, popped fasteners, and soft spots from past leaks. If the drywall paper is torn, seal it first with a problem-surface primer so it does not bubble under joint compound. Then apply compound in thin layers instead of trying to fix everything at once.
Common repairs after scraping include:
- Filling shallow scraper marks and dents
- Retaping weak seams or corners
- Replacing sections damaged by water or old repairs
- Sanding high spots so the ceiling reads flat in natural light
If the ceiling has widespread damage, uneven joints, or visible sagging, professional drywall repair and finishing can save time and produce a smoother result. This is especially helpful in older Coral Gables, Coconut Grove, and Brickell properties where previous patchwork may be hidden under heavy texture.
Apply a skim coat for a smooth, modern surface
For many homeowners, the best way to remove popcorn ceiling is to combine careful scraping with a light skim coat afterward. A skim coat helps hide small imperfections and creates the flat, refined finish that works well with contemporary tropical, Art Deco, and Mid-Century Modern interiors.
Use a wide taping knife or finishing blade and spread a thin, even coat of joint compound across the ceiling. Let it dry fully, sand lightly, and inspect under side lighting. Some ceilings need a second coat to look uniform. In Miami-Dade homes with large windows and strong daylight, ceiling flaws are easier to see, so patience here pays off.
Prime and paint the right way
Once the surface is smooth, apply a quality primer before painting. Primer seals repairs, evens out porosity, and helps the finish coat look consistent. Flat ceiling paint is commonly used because it hides minor imperfections better than a sheen finish.
If you are updating the room as part of a larger refresh, professional interior painting services can help create a cleaner final look with crisp cut lines around trim, vents, and lighting. Many homeowners also pair popcorn ceiling removal DIY with new trim details, fresh wall color, and upgraded fixtures for a complete visual change.
When Popcorn Ceiling Removal DIY Is Not the Best Option
Some ceilings are straightforward. Others turn into a repair-heavy project fast. If you are deciding between DIY and hiring a pro, the condition of the ceiling should guide the choice more than the room size.
Signs you should call a professional
There are times when trying to figure out how to get rid of popcorn ceiling on your own can lead to more cost and downtime later. Consider professional help if you notice any of the following:
- The ceiling tested positive for asbestos or the age is uncertain
- The texture has been painted multiple times and will not soften
- You find water damage, mold staining, or crumbling drywall
- The room has high ceilings, large open spans, or difficult lighting access
- You plan to add recessed lights, fans, or other fixture changes
Ceiling work often overlaps with other trades. For example, if you remove old fixtures or want to improve room lighting after scraping, licensed electrical upgrades should happen before final patching and paint. That sequence helps avoid cutting into a newly finished ceiling later.
Skim coating over texture can be smarter in some cases
Homeowners searching for the best way to remove popcorn ceiling sometimes assume scraping is always required. It is not. If the texture is stable, does not contain asbestos, and is not too heavy, skim coating over it may be a better solution. This approach reduces dust and can be useful when painted texture refuses to release cleanly.
That said, skim coating over texture takes finishing skill. If the existing popcorn is loose, flaky, or uneven, the final result can fail. A professional evaluation helps determine whether full removal or a surface build-up will perform better over time.
Cost, Timeline, and Practical Tips for Miami Homeowners
Removing popcorn ceiling is messy, but it can be one of the most noticeable visual upgrades in a home. For Miami homeowners and property investors, smoother ceilings can make interiors feel brighter, newer, and more aligned with current design preferences. This is especially true in condos and renovated single-family homes where buyers expect clean finishes.
What affects the timeline
The time needed for removing popcorn ceiling depends on more than square footage. The main variables include whether the ceiling is painted, how much repair is needed, whether furniture must stay in place, and how long drying takes between skim coat, primer, and paint. In South Florida, indoor humidity can slow drying if the space is not climate controlled.
Projects may also take longer if permit-related work is tied in. While scraping texture alone usually does not trigger permitting, related changes such as moving lights, replacing drywall sections, or combining the work into a broader remodel may involve code requirements. If your ceiling update is part of a larger redesign, explore full home renovation services to coordinate finishes, lighting, and room layout in one plan.
Tips for a cleaner and more durable result
If you want better results from popcorn ceiling removal DIY, keep these practical points in mind:
- Work in small sections so water does not over-soak the drywall
- Change scraper angles instead of forcing the blade
- Use bright work lights to spot ridges before priming
- Address leaks or AC condensation issues before refinishing the ceiling
- Do not skip primer, especially over patched or skim-coated areas
These details matter in Miami’s climate. Humidity, salt air near the coast, and old condensation stains can all affect how the finished ceiling performs over time. A smooth ceiling should not just look better on day one. It should stay stable and easy to maintain.
Final Thoughts on How to Remove Popcorn Ceiling
If you have been researching how to remove popcorn ceiling, the safest approach is simple: test first, prep thoroughly, scrape carefully, and expect some level of repair afterward. Wet scraping is often the easiest method for unpainted texture, while dry scraping or skim coating may be more realistic for painted ceilings. The right choice depends on the ceiling condition, the age of the home, and the finish quality you want.
For some homeowners, removing popcorn ceiling is a manageable weekend project. For others, especially in older Miami-area properties, it makes more sense to bring in a licensed team that can handle drywall repair, painting, and related upgrades without creating new problems. If you want a smooth, modern finish that fits your home and your renovation goals, request a free consultation with Newrome. Our licensed and insured team helps Miami homeowners, investors, and design-focused clients complete ceiling updates and full remodels with durable craftsmanship and a clean final result.
Frequently Asked Questions
How much does popcorn ceiling removal cost in Miami?
The cost depends on the ceiling size, whether the texture is painted, if asbestos testing is needed, and how much drywall repair is required after scraping. A painted or damaged ceiling usually takes more labor. Skim coating, sanding, priming, and painting can also affect the final price. Newrome can review your ceiling and explain the best way to remove popcorn ceiling for your home.
How long does it take to remove popcorn ceiling?
The timeline depends on the room size, ceiling condition, and removal method. Unpainted texture that softens with water is usually faster to scrape. Painted popcorn ceilings can take longer because water may not penetrate the surface. Most projects also need repairs, skim coating, sanding, primer, and paint before the ceiling looks smooth and finished.
What is the safest way to remove popcorn ceiling in an older Miami home?
The safest first step is asbestos testing, especially if your home was built before 1990. Many older homes in Miami, Coral Gables, and Brickell were built when textured ceilings were common. Never sand or aggressively scrape before testing. If asbestos is present, popcorn ceiling removal DIY is not safe, and a licensed abatement professional should handle the work.
What is involved in removing popcorn ceiling and refinishing it?
The process starts with testing, checking whether the texture is painted, and protecting the room with plastic and drop cloths. Then the ceiling is scraped using a wet or dry method. After removing popcorn ceiling, most surfaces need patching, skim coating, sanding, primer, and paint. Newrome’s renovation team can help create a clean finish that fits a larger home update.
Can I remove popcorn ceiling myself, or should I hire a professional?
Popcorn ceiling removal DIY may work if the ceiling tests clear for asbestos and the texture softens easily with water. However, painted ceilings, damaged drywall, dust control, and finish repairs can make the job difficult. If the surface peels, gouges, or needs electrical and lighting updates, hiring an experienced team like Newrome can help prevent bigger repair problems.
Does getting rid of popcorn ceiling improve home value in South Florida?
Getting rid of popcorn ceiling can improve resale appeal because many buyers prefer smooth, updated finishes. It can also make rooms feel brighter, taller, and more modern, especially in Miami homes with contemporary tropical, Mid-Century Modern, or updated Mediterranean interiors. A smooth ceiling also makes painting, lighting upgrades, and future maintenance easier.