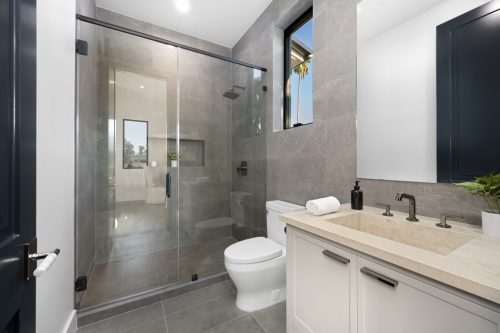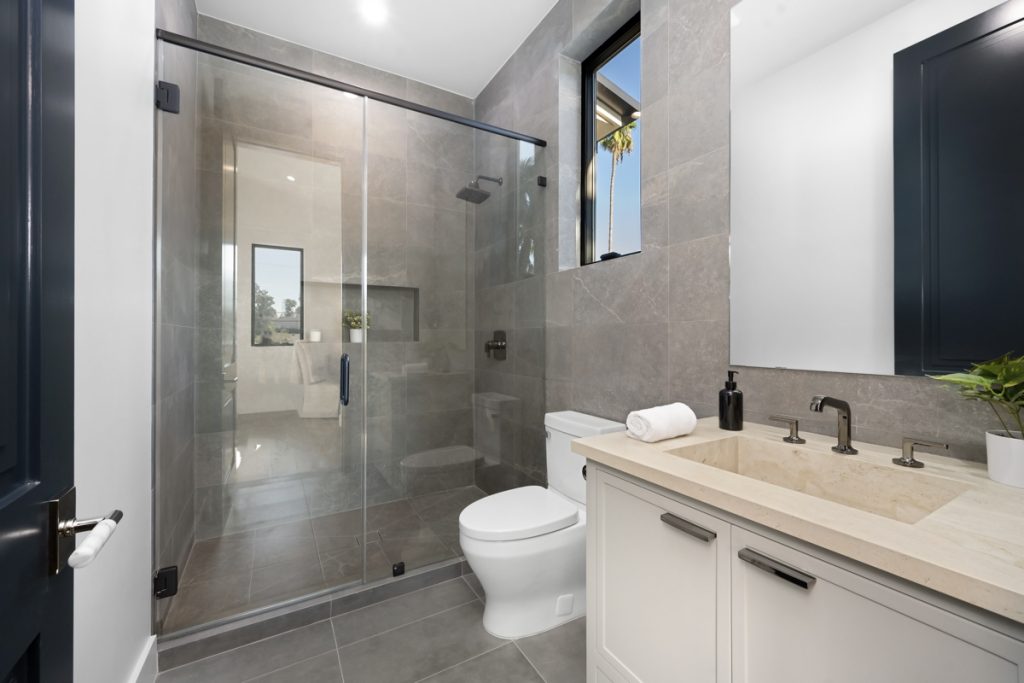
A well-tiled bathroom floor looks clean, lasts for years, and handles Miami humidity better than many other finishes. This guide shows homeowners how to tile a bathroom floor the right way, from prep and layout to setting tile and avoiding the common mistakes that lead to cracks, loose corners, and grout problems.
How to Tile a Bathroom Floor the Right Way
If you are researching how to tile a bathroom floor, the most important thing to know is that good results start long before the first tile goes down. In Miami homes, bathrooms deal with daily moisture, heavy cleaning, and shifting temperatures from air conditioning and outdoor humidity. That means your bathroom tile flooring needs a solid subfloor, the right underlayment, careful spacing, and proper waterproofing details.
For many homeowners in Brickell, Coral Gables, Coconut Grove, and Pinecrest, tile is still the top choice because it is durable, easy to maintain, and works with many styles, from Mediterranean Revival to clean contemporary tropical interiors. If your project is part of a larger remodel, you can also learn about bathroom remodeling and how flooring fits into the full design plan.
Choose the Best Tile for a Bathroom Floor
Not every tile is a smart choice for wet areas. For a bathroom floor, slip resistance, water absorption, and durability matter more than appearance alone. Porcelain is often the preferred option because it is denser than ceramic and handles moisture very well. Natural stone can look beautiful, but it usually needs more sealing and maintenance.
Here is a quick comparison to help narrow down your options.
| Tile Type | Best Feature | Watch Out For |
|---|---|---|
| Porcelain | Low water absorption and high durability | Heavier and harder to cut |
| Ceramic | Budget-friendly and easy to install | Less durable in high-traffic bathrooms |
| Natural Stone | High-end look and unique pattern | Needs sealing and more upkeep |
| Mosaic Tile | Great slip resistance with more grout lines | Takes longer to install and grout |
If you are also planning a shower upgrade, the floor tile choice should coordinate with wall tile and drain slope. Many homeowners ask about porcelain shower floor tile because it offers strong moisture resistance and a refined look. It is also a practical option for modern South Florida bathrooms where easy cleaning matters.
Check the Subfloor Before You Start
A flat, stable base is what keeps tile from cracking later. This is where many DIY jobs go wrong. Before learning how to tile a bathroom floor in a practical sense, inspect what is underneath the old finish. Wood subfloors must be solid, dry, and free of rot. Concrete slabs should be clean, level, and without major cracks.
In older Miami-Dade homes, especially near the coast, moisture issues can affect framing, fasteners, and underlayment. Bathrooms in flood-prone zones or homes with past plumbing leaks may need extra attention before tile work begins. If the space is part of a broader house upgrade, it may help to discover full home renovation options so flooring, plumbing, and waterproofing are addressed together.
Common prep tasks before tile installation
Most professional tile jobs include these early steps:
- Remove the toilet, baseboards, and old flooring
- Repair damaged subfloor sections or uneven concrete
- Install cement backer board or an approved tile underlayment
- Apply a waterproofing membrane in splash-prone areas
- Dry-fit tiles to confirm layout and cut locations
If your bathroom has signs of leaks around the toilet, shower, or vanity, it is smart to address those first. You can explore plumbing services before new tile is installed, since opening a finished floor later is far more disruptive.
Step-by-Step Bathroom Tile Flooring Installation
Once the floor is prepped, the actual tile work can begin. Professional installers follow a sequence that protects alignment, spacing, and long-term performance. If you want to understand how to tile a bathroom floor like a pro, focus on precision more than speed.
1. Plan the Layout Carefully
Start by finding the center of the room and snapping chalk lines to create a square reference. Dry-lay several rows without adhesive to see where cuts will land. The goal is to avoid tiny slivers of tile along visible walls or at the doorway. In smaller bathrooms common in Miami Beach condos or older Art Deco properties, layout is especially important because every cut is more noticeable.
Try to keep full tiles in the most visible areas and move cut pieces to less obvious edges. If the bathroom connects to other finished spaces, transition height should also be checked so the tile floor does not create an awkward step.
2. Mix and Spread Thin-Set Mortar
Use a tile mortar recommended for your tile type and substrate. For porcelain, a polymer-modified thin-set is often used because it provides strong bond strength. Mix only what you can use within the working time. Then spread mortar with the correct notched trowel, holding it at a consistent angle for even ridges.
Professionals usually work in small sections so the mortar does not skin over before the tile is set. In South Florida humidity, drying behavior can vary, so following manufacturer instructions matters.
3. Set the Tile and Keep Joints Even
Press each tile into the mortar with a slight twisting motion. Tile spacers help maintain consistent grout joints. Check often with a level so one tile edge is not sitting higher than the next. This issue, called lippage, is one of the biggest visual problems on bathroom tile flooring.
For larger format tiles, back-buttering the tile can improve coverage. For small mosaics, especially in shower areas, sheet alignment must be watched closely so the pattern stays clean. Homeowners who are also considering wall tile often ask how to tile a bathroom shower at the same time as the floor. The answer depends on the waterproofing system, drain placement, and wall preparation, but floor and shower tile should always be planned as one coordinated assembly.
If your remodel includes updated finishes throughout the room, you can explore flooring services for guidance on tile transitions, material selection, and installation quality.
4. Cut Edge Pieces and Let the Floor Cure
Use a wet saw for clean cuts around walls, vanity bases, and toilet flanges. Leave a small expansion gap around the perimeter, which will later be covered by trim or baseboard. After all tile is set, allow the mortar to cure fully before walking on the floor or starting grout work.
This waiting period is one reason experienced scheduling matters. If your bathroom remodel includes paint, lighting, or trim updates, trades should be coordinated in the right order. For example, after tile dust and repairs are complete, many homeowners choose to update bathroom painting finishes for a cleaner final result.
Smart Maintenance and Design Questions Homeowners Ask
Can You Paint Bathroom Floor Tile?
Yes, can you paint bathroom floor tile is a common question, especially in older condos or investment properties. The short answer is yes, but it is usually a temporary cosmetic solution, not a long-term substitute for proper tile replacement. Painted floor tile can wear down quickly in wet, high-traffic bathrooms, especially around the toilet, vanity, and shower entry.
For a rental refresh or short-term update, painting may work if the tile is cleaned, sanded, primed, and coated correctly. But for a primary residence or value-focused remodel in Miami, new tile is the more durable choice.
How to Clean Bathroom Tile Grout Without Damaging It
Another frequent concern is how to clean bathroom tile grout. The safest approach is regular maintenance with a pH-neutral cleaner and a soft brush. Harsh acidic products can weaken grout or damage certain finishes over time. Sealed grout is easier to maintain, and darker grout colors often hide minor staining better in busy family bathrooms.
For deep stains, steam cleaning or professional grout restoration may be better than aggressive scrubbing. If grout is cracking, missing, or staying dark from trapped moisture, that can point to a larger waterproofing or ventilation issue rather than simple surface dirt.
Homeowners planning a full bathroom refresh, resale update, or custom renovation can also view completed projects for ideas on tile styles, layouts, and finishes that work well in South Florida homes.
Grouting, Sealing, and Finishing Details That Matter
After the tile has cured, the next steps have a big effect on how the floor looks and how long it lasts. If you want to understand how to tile a bathroom floor with a clean, professional finish, grouting and sealing should never be rushed. In Miami and across South Florida, constant humidity can expose weak grout joints quickly, especially in bathrooms with limited ventilation.
5. Apply Grout Correctly
Remove the spacers and clean out any mortar that has squeezed up into the joints. Then spread grout diagonally across the tile using a rubber float, pressing it firmly into the gaps. Work in manageable sections and wipe the surface with a damp sponge before the grout haze dries too hard.
The type of grout you choose matters. Sanded grout is often used for wider joints, while unsanded grout works better for narrower joints and some delicate tile finishes. Many Miami homeowners now choose higher-performance grout options because they resist staining better in wet spaces.
Here is a simple comparison of common grout choices.
| Grout Type | Best Use | Main Benefit |
|---|---|---|
| Unsanded Grout | Narrow joints and smooth wall tile | Smoother finish |
| Sanded Grout | Wider floor joints | Better crack resistance |
| Epoxy Grout | High-moisture bathrooms | Strong stain and water resistance |
Color also changes the final look. Light grout can make a room feel bright and airy, while medium or dark grout is often easier to maintain in busy family homes and investment properties.
6. Seal Where Needed and Reinstall Fixtures
Not every tile needs sealing, but many grout lines do. Some porcelain products are very low maintenance, while natural stone and cement-based grout usually benefit from a quality sealer. Always follow the manufacturer’s cure times before sealing or exposing the floor to heavy use.
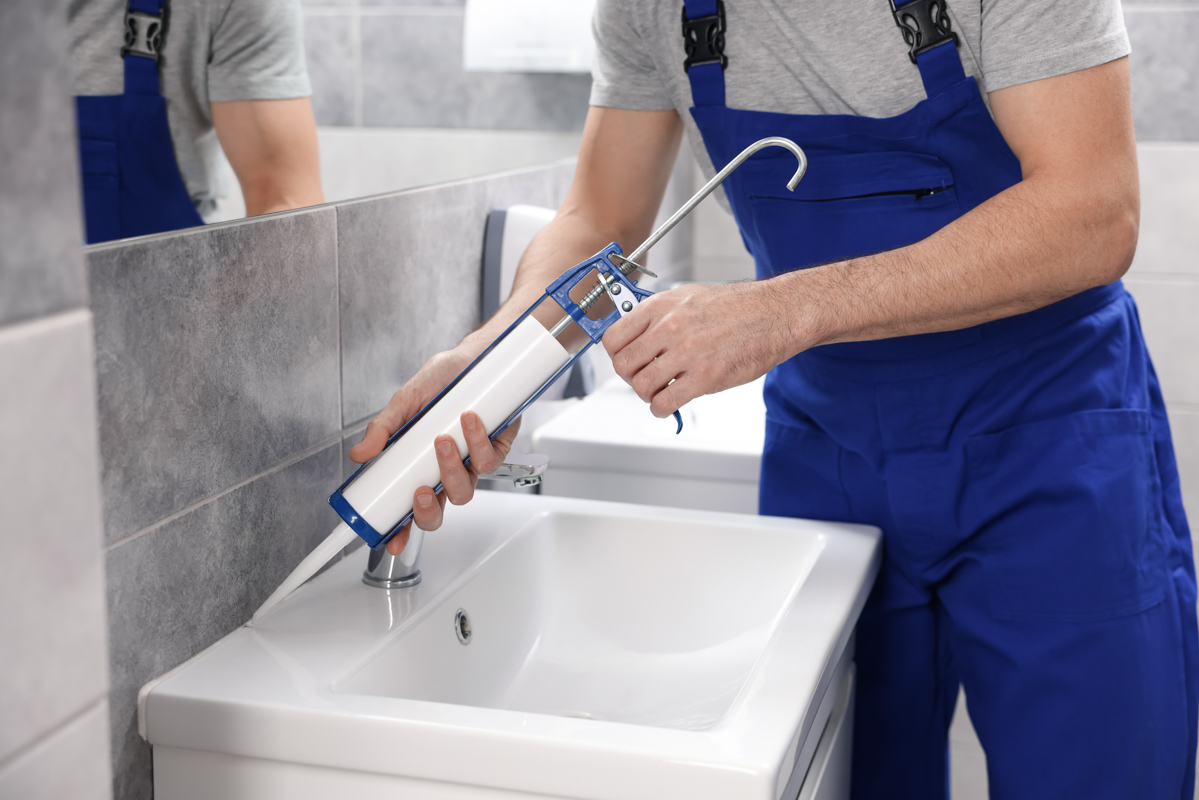
Once the grout is cured, reinstall the toilet with a new wax ring or approved seal, reset baseboards, and caulk the perimeter where needed. Flexible caulk should be used at movement joints and transitions instead of grout. This detail helps reduce cracking as the home expands and contracts.
If the project includes new lighting, heated mirrors, or upgraded exhaust fans, it is wise to review electrical upgrade options before the room is fully closed up. Better ventilation helps protect bathroom tile flooring by reducing lingering moisture on the surface and in the grout lines.
Bathroom Floor Tiling Mistakes to Avoid
Many floor problems do not show up on day one. They appear months later as loose tile, cracked grout, hollow spots, or water damage around the toilet and shower. Homeowners learning how to tile a bathroom floor should pay close attention to the mistakes that professionals work hard to prevent.
Poor Subfloor Prep
Tile is only as strong as the surface below it. If the floor flexes, has low spots, or contains hidden water damage, the tile assembly can fail. This is especially common in older homes in Coral Gables, Coconut Grove, and Miami Beach where previous repairs may be buried under layers of flooring.
Wrong Mortar or Trowel Size
Using the wrong thin-set or too small a trowel can leave weak bond coverage under the tile. That creates hollow areas that may crack under foot traffic. Large tiles usually need more mortar coverage than homeowners expect, and wet-area installations need products rated for that environment.
Ignoring Layout and Drainage Details
In a standard bathroom floor, layout affects visual balance. In a shower, slope affects drainage and safety. Homeowners asking how to tile a bathroom shower should know that shower floors require a properly sloped base, waterproof membrane, and drain integration before any finish tile is installed. This is one reason shower work is often more technical than open floor tiling.
For shower areas, smaller formats and professional bathroom remodeling guidance are often helpful because they follow the contour of the slope better and provide more grip. A well-chosen porcelain shower floor tile can perform very well, but only if the substrate and waterproofing are done correctly first.
Skipping Movement Joints
Bathrooms experience temperature and moisture changes every day. Perimeter gaps and flexible sealant at key transitions allow slight movement without forcing pressure into the tile field. Skipping this step can lead to tenting, cracking, or separated grout lines over time.
Rushing the Cure Time
Walking on the tile too soon, grouting before the mortar sets, or reinstalling fixtures too early can shift tiles out of place. Professional schedules are built around cure times for a reason. If your bathroom is part of a larger update, coordinated planning with expert flooring services can help avoid delays and rework.
Design and Maintenance Tips for Miami Bathrooms
A bathroom floor should do more than survive moisture. It should also fit the style of the home and stay easy to maintain in a tropical climate. In South Florida, many homeowners want materials that feel clean, modern, and durable without requiring constant upkeep.
Best Design Choices for Local Homes
Porcelain remains one of the best all-around options for bathroom tile flooring because it handles humidity well and comes in many looks, including stone, concrete, terrazzo, and wood visuals. In contemporary tropical interiors, large-format porcelain creates a sleek look with fewer grout lines. In Mediterranean Revival or Art Deco-inspired homes, patterned mosaics or classic checkerboard layouts can add character without sacrificing performance.
For smaller bathrooms, lighter tile colors often make the room feel more open. Matte finishes usually provide better slip resistance than polished tile, which matters in homes with kids, guests, or aging family members.
Cleaning and Long-Term Care
Regular care extends the life of the installation. If you are wondering how to clean bathroom tile grout, the best method is gentle and consistent. Use a pH-neutral cleaner, soft brush, and good ventilation after showers. Avoid harsh acids and abrasive pads that can wear down grout or damage sealers.
Good maintenance habits include:
- Wipe standing water near tubs and showers
- Run the exhaust fan after bathing to reduce humidity
- Reseal grout when recommended for the product used
- Repair cracked caulk promptly around tubs, showers, and base edges
Some owners also ask, can you paint bathroom floor tile instead of replacing it. While painting can refresh the look for a short period, it rarely matches the durability of a properly installed tile floor in a full-time Miami bathroom. In most cases, replacement is the better long-term investment for resale value, daily use, and moisture resistance.
When to Call a Professional
DIY tile work can be manageable in a very small, simple room, but many bathrooms have hidden issues involving moisture, leveling, plumbing penetrations, and code-related repairs. If the floor is uneven, the shower needs waterproofing, or the remodel includes fixture relocation, professional installation is usually the safer path.
Homeowners planning a larger house upgrade can explore full renovation services to coordinate flooring, plumbing, lighting, drywall repair, and finish work under one plan. That is often the best approach for condos, older Miami-Dade homes, and investment properties where timing and quality control matter.
Final Thoughts on How to Tile a Bathroom Floor
Learning how to tile a bathroom floor starts with the basics: a stable subfloor, smart tile selection, precise layout, strong mortar coverage, and careful grouting and sealing. The best results come from treating the floor as a full system, not just a surface finish. That is especially true in Miami, where humidity, daily moisture, and long-term durability all shape how well a bathroom performs.
Whether you are updating a condo in Brickell, renovating a family home in Pinecrest, or improving a property for resale in Coral Gables, quality tile work adds function and lasting visual value. If you want experienced help with bathroom tile flooring, shower surfaces, or a complete remodel, request a consultation with Newrome. Our licensed and insured team delivers thoughtful planning, skilled craftsmanship, and renovation solutions built for South Florida homes.